The appeal of DIY roof restoration is understandable — professionals quote $5,000–$15,000 for a job that homeowners assume involves cleaning and painting. The reality is more complicated. Full roof restoration involves several technical steps that require specific equipment, product knowledge, and safety infrastructure — most of which produce poor outcomes or genuine safety risk when attempted without the right setup.
This guide is honest about what's involved, what limited maintenance tasks homeowners can safely do themselves, and why the full restoration process is almost always better left to a licensed contractor.
What Does Roof Restoration Actually Involve?
- 1 Condition inspection: Every tile, every ridge cap, all valley iron, flashings, and visible sarking assessed. Without this step, you're applying coating over unknown problems that will reappear through the coating within 1–2 years.
- 2 High-pressure cleaning: Professional equipment operating at 3,000–4,000 PSI removes moss, lichen, algae, old coating, and contamination. Consumer pressure washers don't reach this pressure and can't clean to the standard required for coating adhesion. Improper technique also drives water under tiles.
- 3 Tile replacement and repairs: Cracked or broken tiles replaced with matching profile. Valley iron, flashing, and damaged sections repaired or replaced. This requires sourcing matching tiles — not always straightforward on older roof profiles.
- 4 Re-bedding and re-pointing ridge caps: Old mortar is removed and replaced with fresh cement bedding. Ridge caps are re-pointed with flexible polymer-modified pointing compound. Incorrect mortar mix ratios or curing conditions produce ridge caps that fail in 2–3 years.
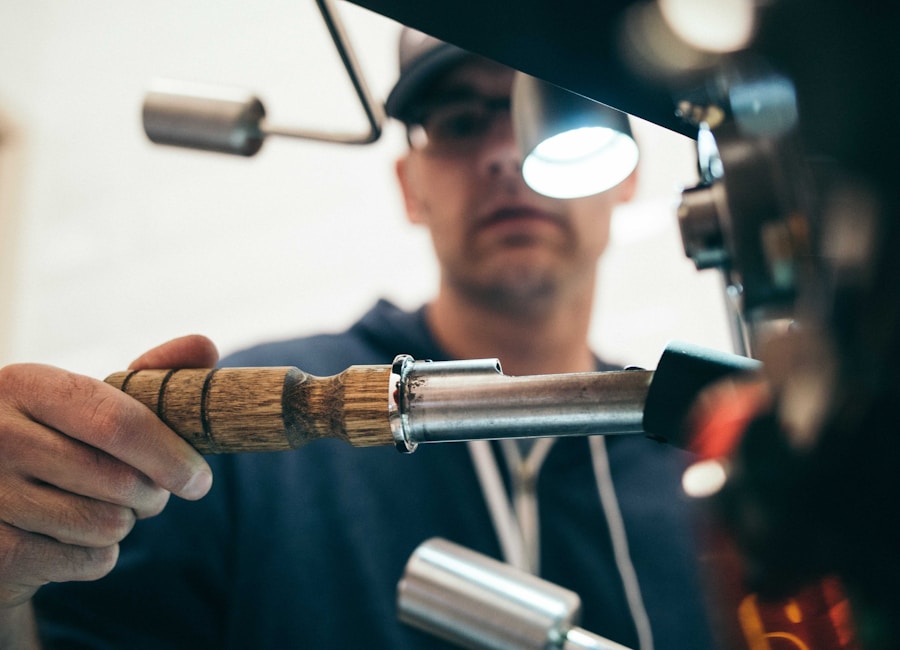
- 5 Coating application: Two or more coats applied with professional airless spray equipment at specific film thicknesses. Product requires specific application temperatures (typically 10–35°C, low humidity, no forecast rain within 4 hours). Coverage rate affects both performance and warranty validity.
Signs Your Roof Needs Restoration
- Moss, lichen, or algae visible on tiles — indicates surface deterioration and moisture retention
- Cracked, broken, or missing tiles — direct entry points for water
- Faded, chalky, or peeling coating — the waterproofing layer has failed
- Crumbling or missing mortar at ridge caps — the highest-risk water entry point
- Roof is 15+ years old with no prior restoration or known maintenance history
What's Safe to DIY vs. What Isn't
| Task | DIY Safe? | Risk if Done Incorrectly |
|---|---|---|
| Visual inspection (from ground) | Yes | None |
| Gutter cleaning | Yes (single storey) | Fall risk at height |
| High-pressure roof cleaning | Not recommended | Water ingress, tile damage, falls |
| Tile replacement | Risky | Falls, incorrect installation, tile mismatch |
| Re-bedding and re-pointing | No | Incorrect mix causes premature failure in 1–2 years |
| Coating application | No | Poor adhesion, coating failure, void on product warranty |
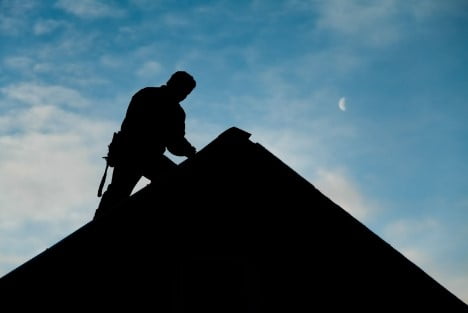
Safety on Roofs — What You Need to Know
Falls Are the Leading Cause of Serious DIY Injury
Falls from roofs account for a significant proportion of serious DIY injuries in Australia every year. Wet tiles are particularly dangerous — even a slight gradient on a garden-hose-wet surface can cause rapid loss of footing. Professional roofing contractors work with fall arrest systems, roof walkboards, and harnesses as standard equipment. Homeowners attempting roof work without these are taking serious personal safety risk.
Under NSW WHS legislation, any work at height over 2 metres requires appropriate fall protection. Residential owners working on their own property are not exempt from the practical consequences of this — a fall from roof height on a residential home causes serious injury at best.
If you are determined to inspect your own roof, limit activity to the lowest accessible eave from a stable ladder, and avoid walking on tiles at all. For any work on the roof surface, engage a licensed contractor.
Licensing Requirements in NSW
Roofing work in NSW requires a contractor's licence under the Home Building Act. Licensed roofing contractors are covered by statutory warranty obligations under the Home Building Compensation Fund — providing homeowner protection if the contractor fails to complete the work or goes out of business. DIY work carries no such protection.
For guidance on what to look for in a restoration quote, see our article on the key signs your roof needs restoration, and our guide to roof repairs for minor isolated defects that may be addressable without a full restoration.
Professional Restoration
Get a Written Quote for the Full Job — Done Right
We provide a complete written scope before any work starts — inspection findings, repair list, coating product, warranty terms. You know exactly what you're paying for.
Tags
Central Coast Roofing
Licensed roofing contractors serving Gosford, Wyong, Terrigal and all of the Central Coast NSW. Over a decade of residential and commercial roofing experience.